
A requirement record can be accessed and managed from the related request record, and from the related payment record if applicable. Requirements can be marked complete when the applicable action has been taken. From the requirements dashboard, staff can efficiently manage requirements across requests.
Article Sections
Manage a Requirement
A requirement related to a specific payment can also be accessed directly from the payment record. From the Requirements tab of the payment record, click the requirement.
To manage a requirement, open the requirement record and view or edit details.
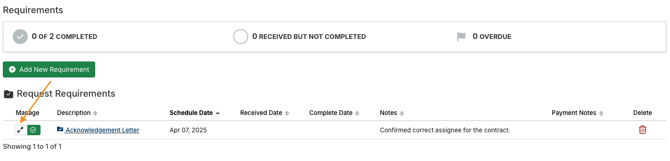
- Navigate to the request record.
- Click the Requirements tab.
- Click the double arrow icon for the requirement.
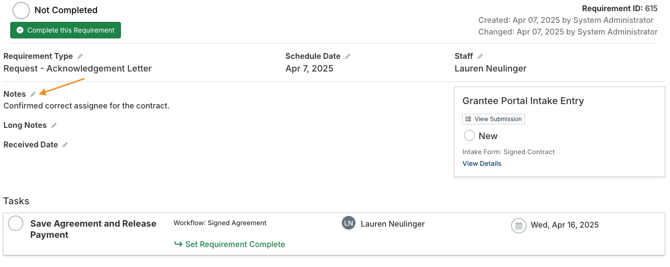
Manage requirement details on the Overview tab.
- Click the pencil icon next to a field to edit it.
Click the trash can icon next to a requirement to delete it.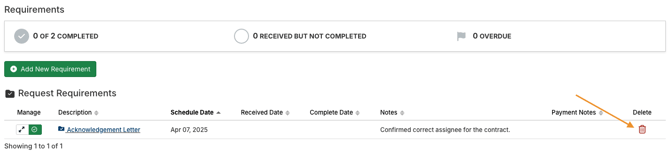
Mark a Requirement Complete or Incomplete
Marking a requirement complete indicates that all necessary actions related to it have been taken. This could include internal actions for staff, as well as a grantee portal intake form for the requirement being submitted and reviewed.
If a requirement has an intake form, marking the requirement complete or incomplete does not have an effect on the intake form. If the requirement is marked complete but the intake form has not been submitted, email reminder and/or overdue notifications for the form will still be sent if configured.
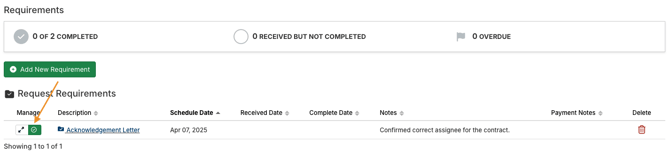
- Navigate to the request record.
- Click the Requirements tab.
- Click the green checkmark icon.
- Alternatively, click the double arrow icon to view the requirement record, and then click Complete this Requirement.
- Alternatively, click the double arrow icon to view the requirement record, and then click Complete this Requirement.
- Complete the fields, and then click Save as Completed.

If the requirement is related to a specific payment with a Contingent status, the system provides the option to change the status of the payment after marking the requirement complete.
If needed, a completed requirement can be marked incomplete.
- Navigate to the request record.
- Click the Requirements tab.
- Click the double arrow icon.

- Click Update this Requirement’s Status.

- Select No in the dropdown, and then click Update.

Requirements Dashboard
Staff can utilize the requirements dashboard to efficiently manage requirements across requests. Criteria can be configured to view the most relevant data, and multiple charts and list views are available.
- Click Dashboards in the upper navigation bar, and then click Requirements.
By default, the main Dashboard page is displayed. Click Upcoming, Overdue, or Completed to access a list view of corresponding requirements. These list views are described later in this section. 
On the Dashboard page, two charts are available:
- The Upcoming chart displays requirements with upcoming due dates.
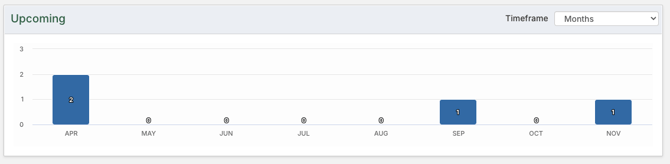
- The Overdue chart displays incomplete requirements that are not marked complete.

- Click a bar in either chart to view a list view of the requirements.
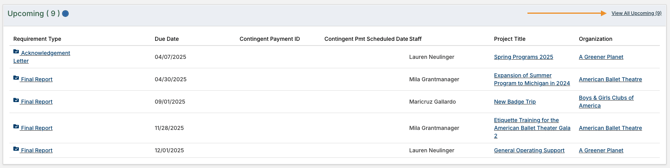
Below the charts, list views for upcoming, overdue, and completed requirements are available.
- Click View All [List View Name] to view the full list.
- Click Edit Columns to edit the visible columns of data.
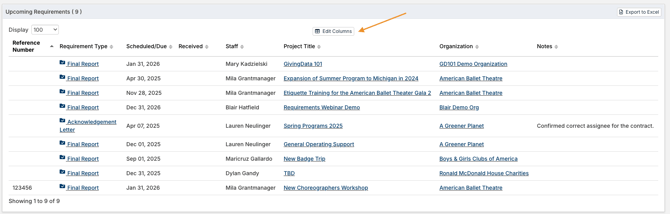
- This will temporarily edit the columns displayed in the list view. If the user clicks out of the list view, the next time they open the list view, it will revert back to the default settings.
- If users consistently find themselves editing the columns displayed within the workflows dashboard list views, they can configure a default view within the default list views from Admin Tools & Settings. How to Edit Default List Views contains details.
- Click Export to Excel to export the data in the list view.

- If the Requirement Type column is included, click a requirement type in the list to open the requirement record.
On the Dashboard page or any of the list view pages, criteria can be configured to filter the data. For example, criteria can be set to view only incomplete requirements with a specific staff assignee.
- Click the criteria in the upper-left corner of the page.

- Configure as many criteria as needed, and then click Update.
- Check the box for Save as My Default Criteria to automatically load this criteria when accessing the requirements dashboard. This option is only available on the Dashboard page.

- Check the box for Save as My Default Criteria to automatically load this criteria when accessing the requirements dashboard. This option is only available on the Dashboard page.