
This guide should not be completed until the IT setup portion has been completed by whoever handles IT management for your organization (and specifically, whoever handles the Azure setup related to GivingData) and until a GivingData team member has completed their setup steps.
Minimum System Requirements
In order to run the GivingData Outlook add-in, please ensure your machine meets the following recommended system requirements:
Windows:
Windows 10 version 1903 or greater
Microsoft Outlook v16.0.12325 or greater
Mac:
macOS 10.15.3 or greater
Mac Outlook v16.75 or later
GivingData User Permission Requirements
In order to use the Outlook add-in, a user must have a GivingData account with the following permissions:
- View Interactions
- Manage Interactions
- Open API
If you think you may be missing some of these permissions, please contact your GivingData site administrator.
Getting Started
Before using the GivingData Outlook add-In, you will need to generate a Manifest file from the GivingData App and the Addin will need to be installed to your Outlook account. This can be done by side loading the add-in. Please note that the add-in does not need to be installed separately for the web app and the desktop app; installing in one place will install in both.
Generating a Manifest file
A manifest is required to bring the GivingData add-in into a user’s Outlook, and GivingData users with administrative permissions can now generate an Outlook add-in manifest directly from GivingData.
The manifest can be found in Settings > Organizations & People > Click Interactions > Click Outlook Add-In

Click the green Download Manifest button to download the manifest, then distribute this file to any users requiring the manifest.
Install the GivingData Addin as a custom file
In your browser, go to https://aka.ms/olksideload. This opens Outlook on the web, then loads the add-ins for Outlook dialog.
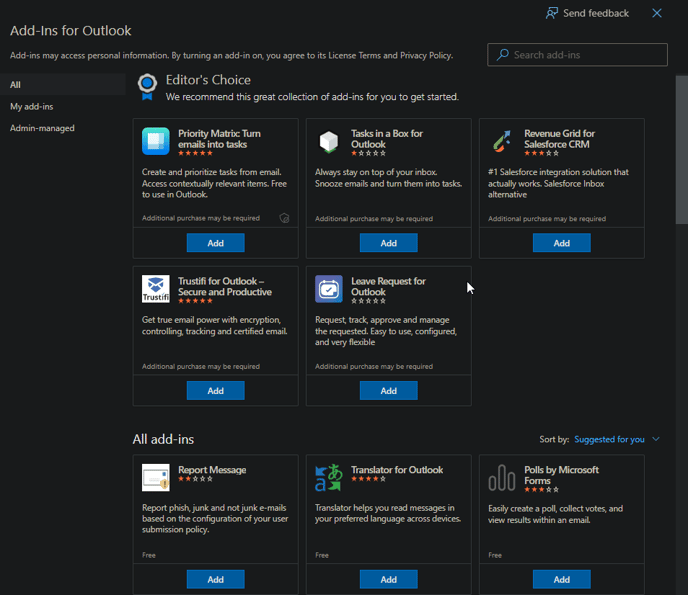
Select My add-ins.
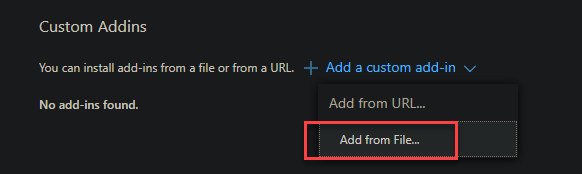
In the Custom Addins section, select Add a custom add-in, then choose Add from file.
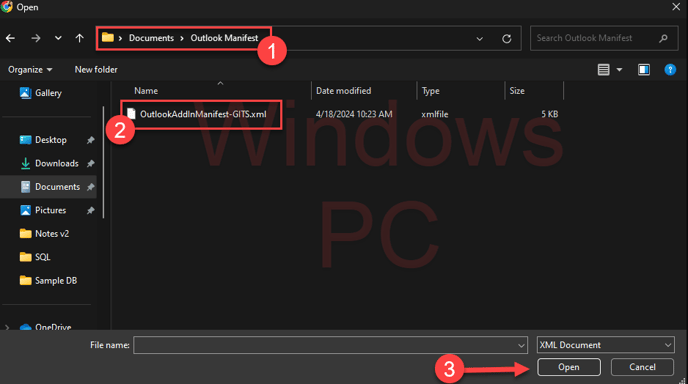
Select the Manifest .xml file you generated earlier from your File Explorer (pc) or Finder app (mac).
Select Open to install the add-in.

You should then see a Warning Modal like in the below image, prompting the 'Install'. Click install to proceed
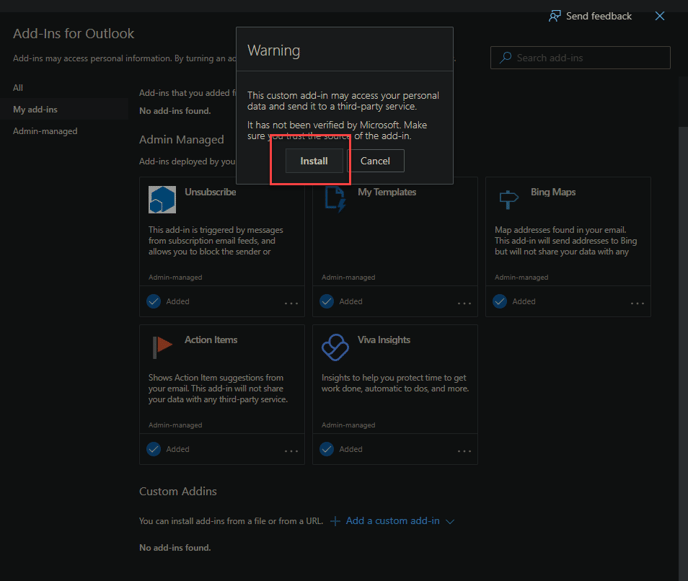
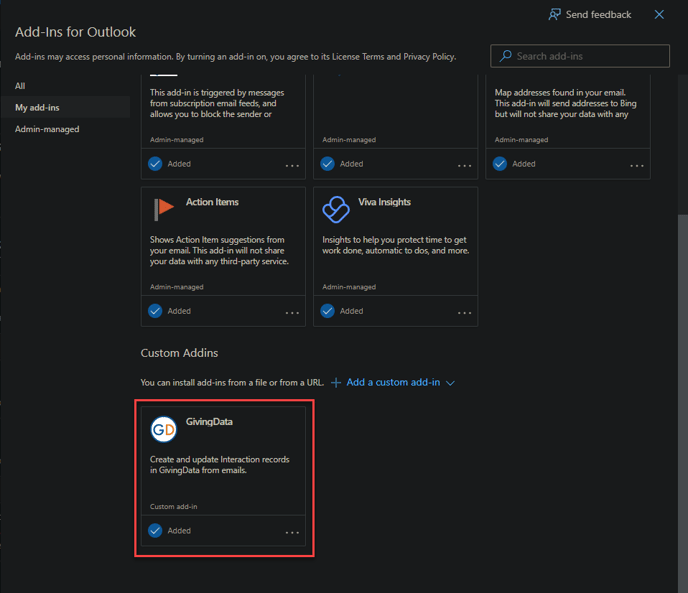
This will install the GivingData Addin under the 'Custom Addins' section of your Outlook settings
How to access the Addin from mail in Outlook
-
Open a mail in Outlook
-
Select the 'Apps' icon
-
Click the GivingData add-in
 ^ PRO TIP: Pin the Addin for quick access.
A side display will open prompting you to input your GivingData URL (https://your_subdomain.givingdata.com) and GivingData API Key. (If you need to create/access your GivingData API key again, see steps below)

Click “Test Connection” and then save if the connection was successful.
GivingData API Key
-
Log into GivingData
-
Click the
caretnext to the Username -
Select 'Manage My Profile'
-
Click on Integrations in the left menu pane
-
Create or copy API key

⚠️Important: Missing "Integrations" Tab?
If you do not see the "Integrations" tab in the "Manage My Profile" section, it may be because the "Open API" is not enabled in the Client & Feature Configuration. Please contact your Client Success Manager for assistance in enabling this feature to access your GivingData API Key.
If you have any questions or concerns, please don't hesitate to contact our support team.